The Astronaut is simple to install.You can do it yourself.
Things to consider before installation
The Astronaut is very forgiving and does not need to be in the center of the room for the best sound quality. Typically, installers choose a location near a power outlet located in the ceiling.
One speaker can cover the following room sizes:
- 1,200 sqft, 10' ceiling, 40 watts
- 1,500 sqft, 12' ceiling, 60 watts
For rooms with ceilings over 15 feet, consider mounting the Astronaut on the wall. In this case, the top ceiling plate is not used. Drywall / plaster screws are not included.
Caution:
Install the Astronaut speaker away from direct heat, high humidity, and physical obstructions. Do not install the Astronaut speaker near a projector exhaust port or fan. The hot air from the projector can cause the Astronaut to overheat and fail.
For the best audio experience:
- Place the speaker above where the majority of listeners are seated
- When using a microphone, place the speaker as close to the audience and far away from the presenter as possible
- Terminate both ends of the speaker cable (one end at the Astronaut amplifier, the other at the source). Or, use the optional volume control to terminate the source end of the cable (common for laptops and other portable devices).
Install on the ceiling bracket
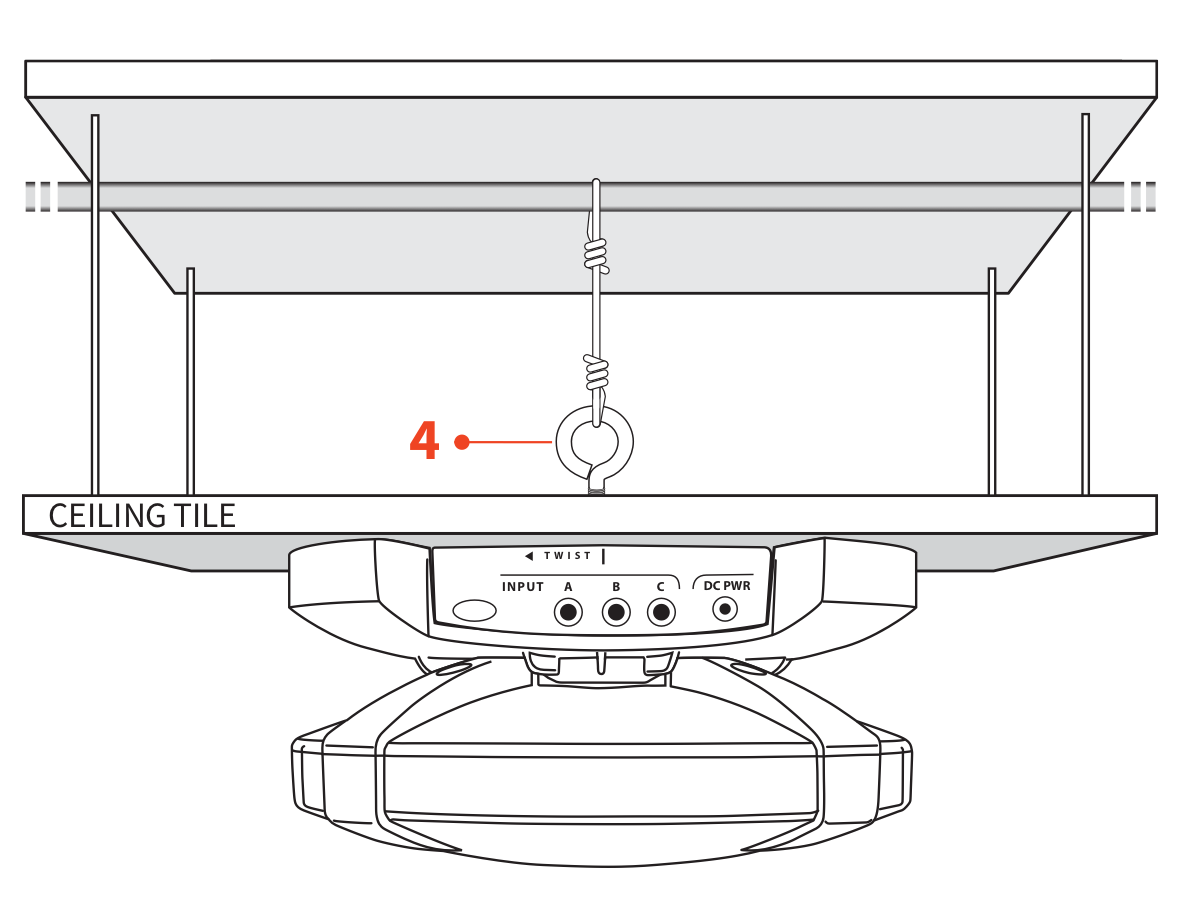
The ceiling-mount bracket allows for fast installation to any false or hard surface ceiling. In a matter of minutes, the Astronaut can be installed with everyday basic tools. For security, the included eye bolt prevents unwanted removal from below the ceiling.

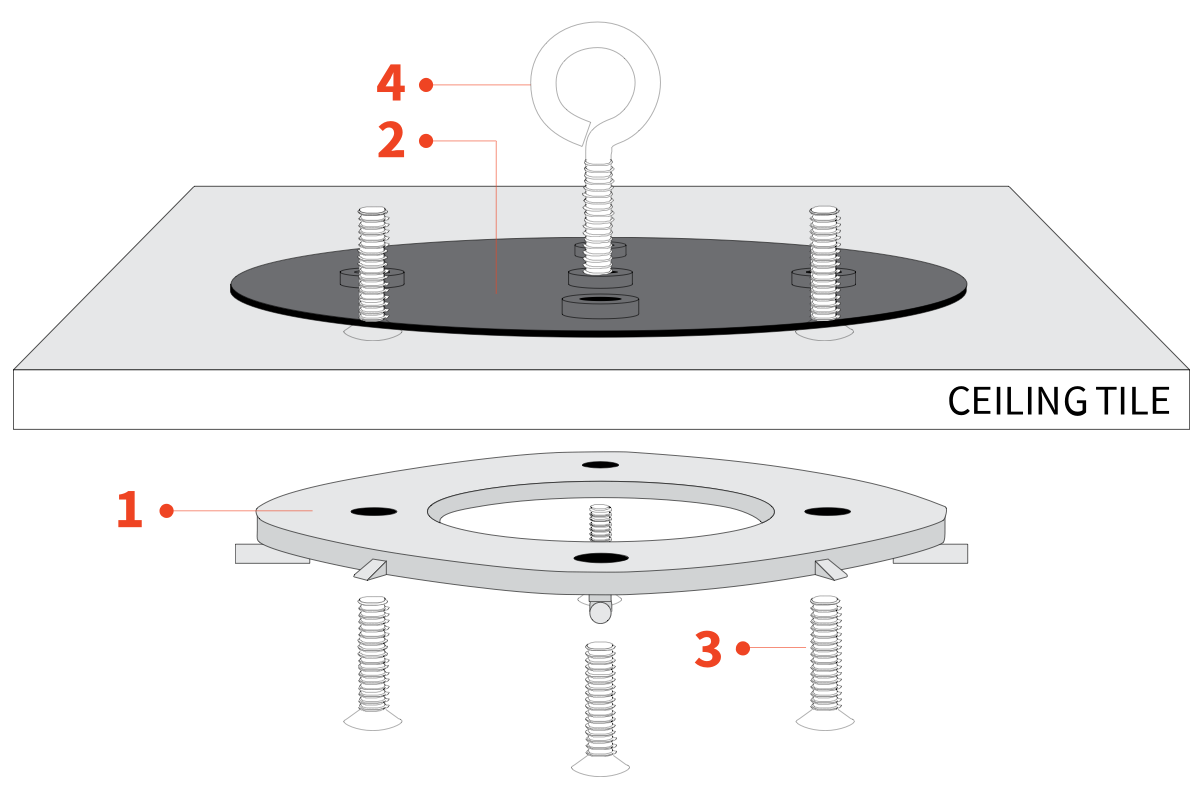
- Mounting Bracket
- Ceiling Plate
- Ceiling Bracket Bolts (4)
- Eye Bolt
Power from an outlet in the ceiling or along the wall
Typical installations run power from an outlet in the ceiling that is often shared with a projector. For rooms where power is located down near the floor, we offer a long run power cabling package with a 30' DC power extension cable.
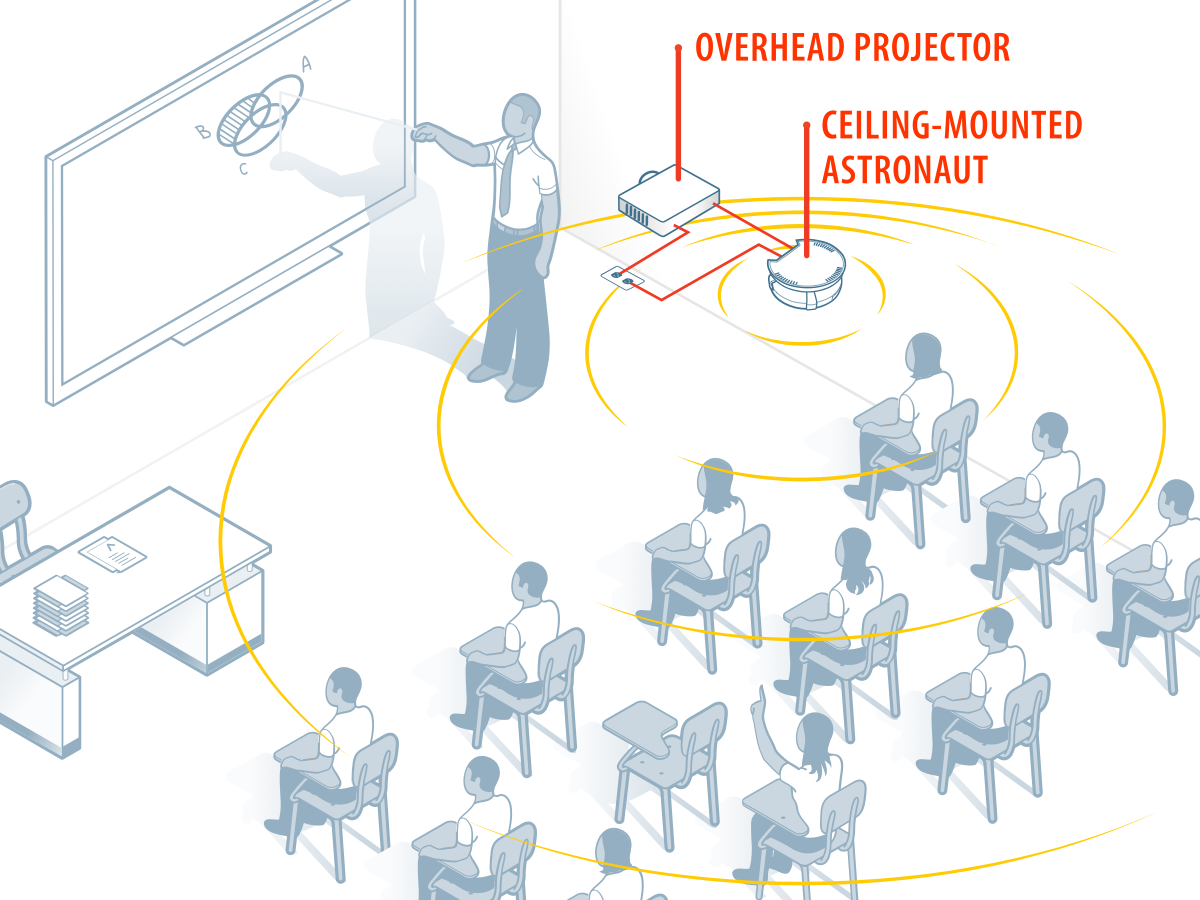
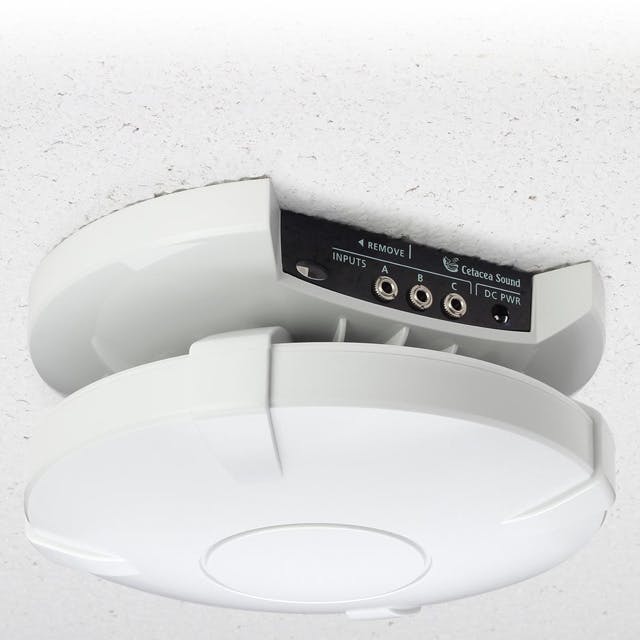
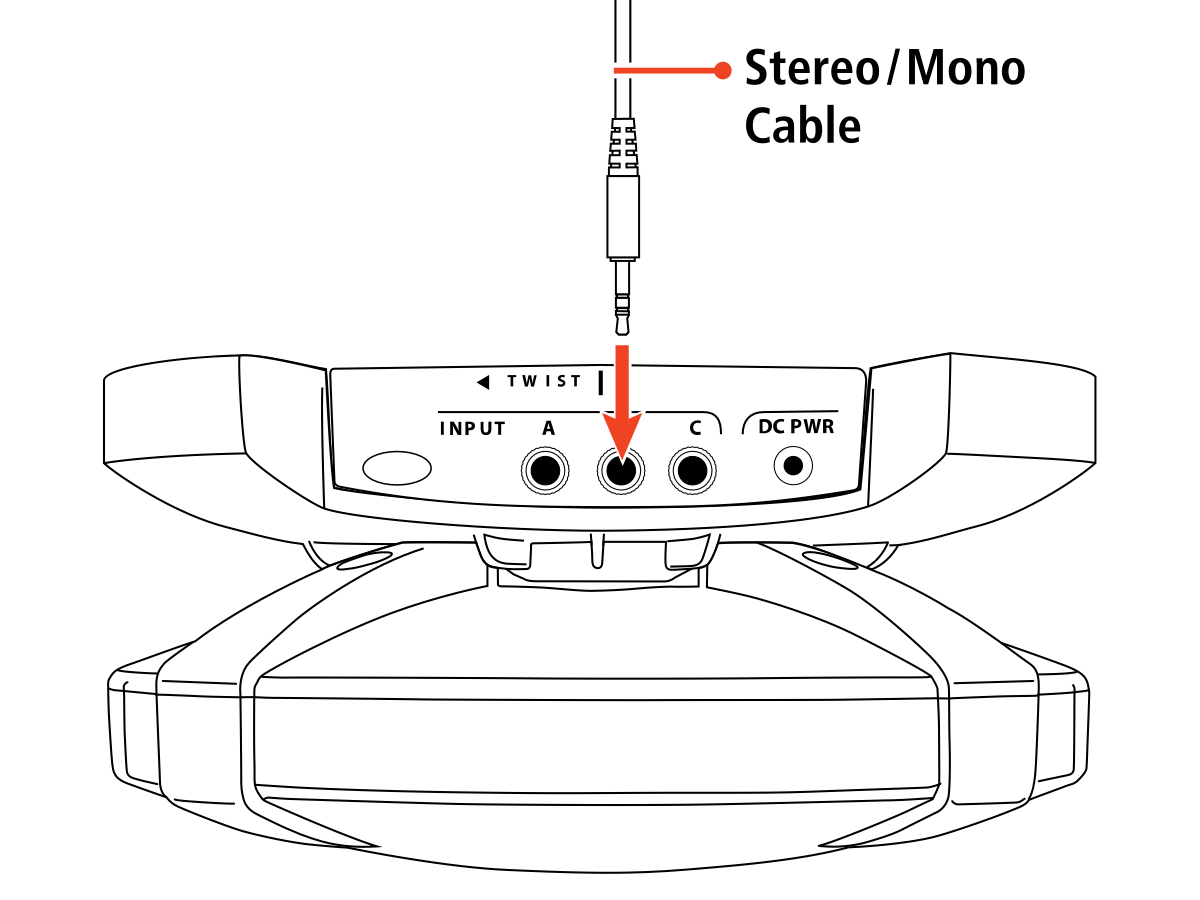
Connect your sound sources
The Astronaut can be hooked up to a variety of different A/V devices. Its built-in 3-channel mixer accepts up to 3 simultaneous devices (3.5 mm mini-jack, stereo or mono). Prior to installation, please ensure that you have the appropriate length and style of source and adapter cables.
Common sources:
- Projector
- Interactive Whiteboard / Flat Panel
- Computer / Laptop
- Orbiter Microphone
- CD / Smart Phone / Tablet
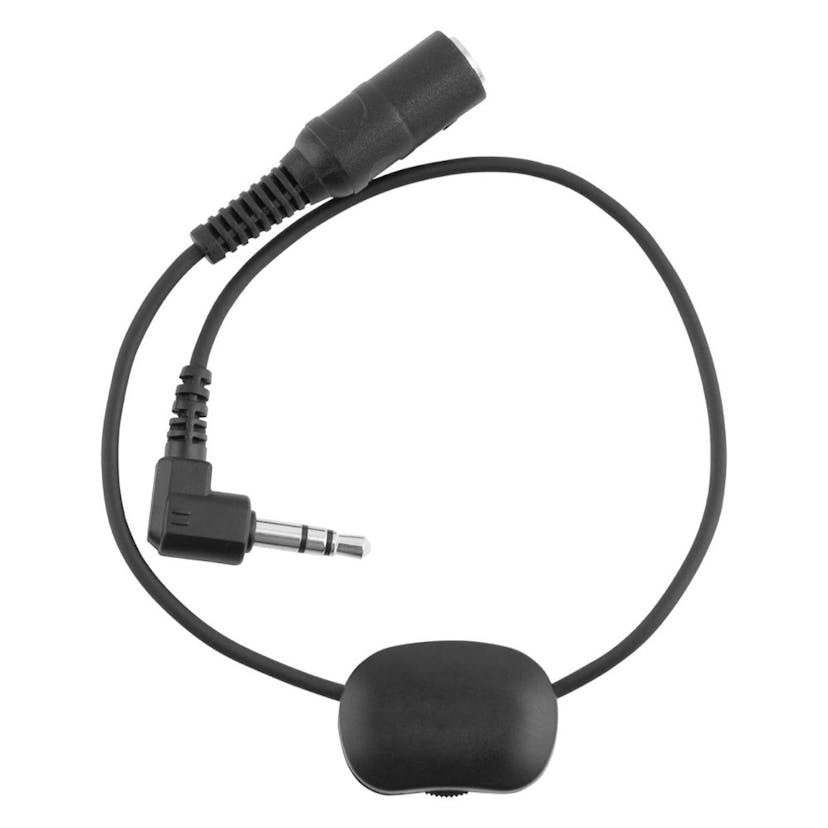
Laptops and other portable devices
When installations involve a portable laptop or other device that will be disconnected from the speaker routinely, use the optional volume control to terminate the source end of the cable. Please contact us for more information.